Monday, May 27, 2019

Weekly Sketch Round-Up May 20-24


Someone wise once said, “It’s better to have scrapbooked and stopped temporarily than to never have scrapbooked at all.” How many projects do you have sitting around unfinished? It can be easy to start a project, get discouraged or distracted and delay coming back to it. Don’t worry – it happens to the best of us! Sometimes all you need is a little motivation. Today’s Weekly Sketch Round-Up might just be the inspiration you need to turn those unfinished projects into completed masterpieces. Take a look!

Sketch #1

Learn how to create this Deep Blue Sea layout in this blog post!

Sketch #2

Looking for instructions on how you can create this layout? Check out this Great Escape blog post!

Sketch #3

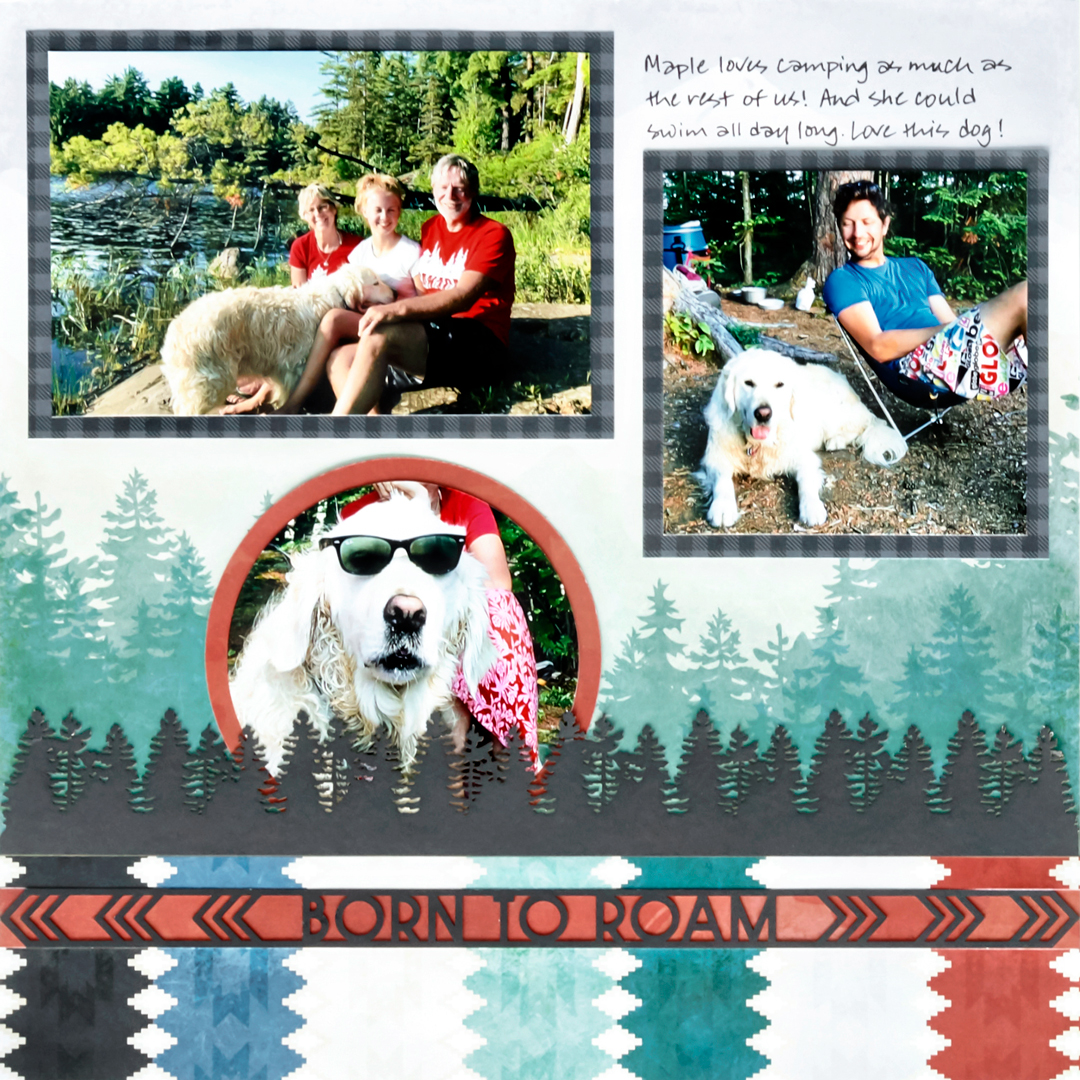
Travel-Log-Scrapbook-Sketch-Border-Creative-MemoriesTravel-Log-Scrapbook-Sketch-Border-Creative-Memories

Sketch #4

Wondering how to make the scrapbook layout above? Get the details here!
You’re already feeling a burst of creativity, aren’t you? Which of these layouts will you attempt first? Let us know in the comments below!

Sunday, May 26, 2019

Deep Blue Sea Collection

The new Deep Blue Sea collection is perfect for bringing life to all your nautical photos. You’ll love using it for all sorts of layouts of cruises, beach days, yachting, sailing, vacations by the water and more! With Deep Blue Sea, creating a nautical scrapbook layout can be as fun and relaxing as the aquatic adventure you’re commemorating! Check out this calming coastal scrapbook layout and get ready to make a splash!

https://www.creativememories.com/cm/RebeccaRansdell


Monday, May 13, 2019

From Creative Memories blog

Weekly Sketch Round-Up May 6-10


It’s so easy to get caught up in the hustle and bustle of day-to-day life. It’s even easier to get caught up in a routine. Sometimes, life can be so busy that we forget to do the things that we love — such as scrapbooking and crafting. But, by scheduling some time and dedicating yourself 100% to your projects during that allotted time, you’d be surprised with how much you can get done! Need some projects to work on during your scrapbook time? Check out these project ideas in today’s Weekly Sketch Round-Up!

Sketch #1


Looking for step-by-step instructions on how you can create this layout? Check out this blog post!

Sketch #2


Want to learn how to create this layout? Get step-by-step instructions here!

Sketch #3


Sketch #4


Try to schedule a little bit of time to scrapbook this week — even if it’s just half an hour! You’d be surprised with how much you can get done in a short amount of time!

Thursday, May 9, 2019

From the Creative Memories Blog

Take a Fresh Approach to Mother’s Day with this DIY Card


They say when it comes to giving gifts, it’s the thought that counts. What better way for a crafter to show how much they care than with a DIY card? With Mother’s Day right around the corner, now is the perfect time to learn how to create a fun, spring-themed DIY Mother’s Day card that mom is sure to love! Find out how in today’s post! 
You can create this card using any Creative Memories collection! But to create this project with the products shown, you will need:
To get the exclusive NSD Project Recipe™ Kit and Gift Embellishments, contact me or go directly to my CM order page https://www.creativememories.com/cm/RebeccaRansdell
instructions
Step 1: Cut a card base out of White Cardstock measuring 4-1/4″ x 11″. Use the Scoring Blade with the 12-inch Trimmer to score at 2-3/4″ from each end. This will create a gate fold card.
Step 2: For the front of the card, cut two pieces of Evergreen Cardstock to measure 2-5/8″ x 4-1/8″ and mount them on the two front panels of the card. Cut two pieces of the daisy patterned paper to measure 4″ x 2-1/2″ and mount them on the two front panels, leaving an equal border of the Evergreen Cardstock showing.

Step 3: Cut a piece of the striped patterned pattern to measure 1″ x 4″ and cut a flag end in to one side. Tip: Use the embellishment flags as a guide to cut the flag — just trace and cut! Adhere the striped strip to the right hand side of the card being sure to have adhesive only on the paper that overlaps the right hand side and not at all on the paper that will overlap the left side (otherwise the card will be adhered shut). Use some of the NSD Embellishments to add a greeting and a cute little bee with some Foam Squares.
Step 4: For the inside of the card, cut a piece of Evergreen Cardstock to measure 4″ x 5-1/4″ and adhere to the middle panel of the inside of the card. Then, take the yellow hexagon patterned paper and cut a rectangle measuring 3-1/2″ x 4-1/2″ and adhere that to the middle of the Evergreen Cardstock. Use a cute little bee to embellish the bottom corner. Journal as desired.
No matter who you make this card for, they’re going to love the thought and attention to detail that you put into it. It’s a beautiful card that can be used for a multitude of spring and summertime occasions, especially Mother’s Day! What other crafty ways do you celebrate Mother’s Day? Let us know in the comments below!